
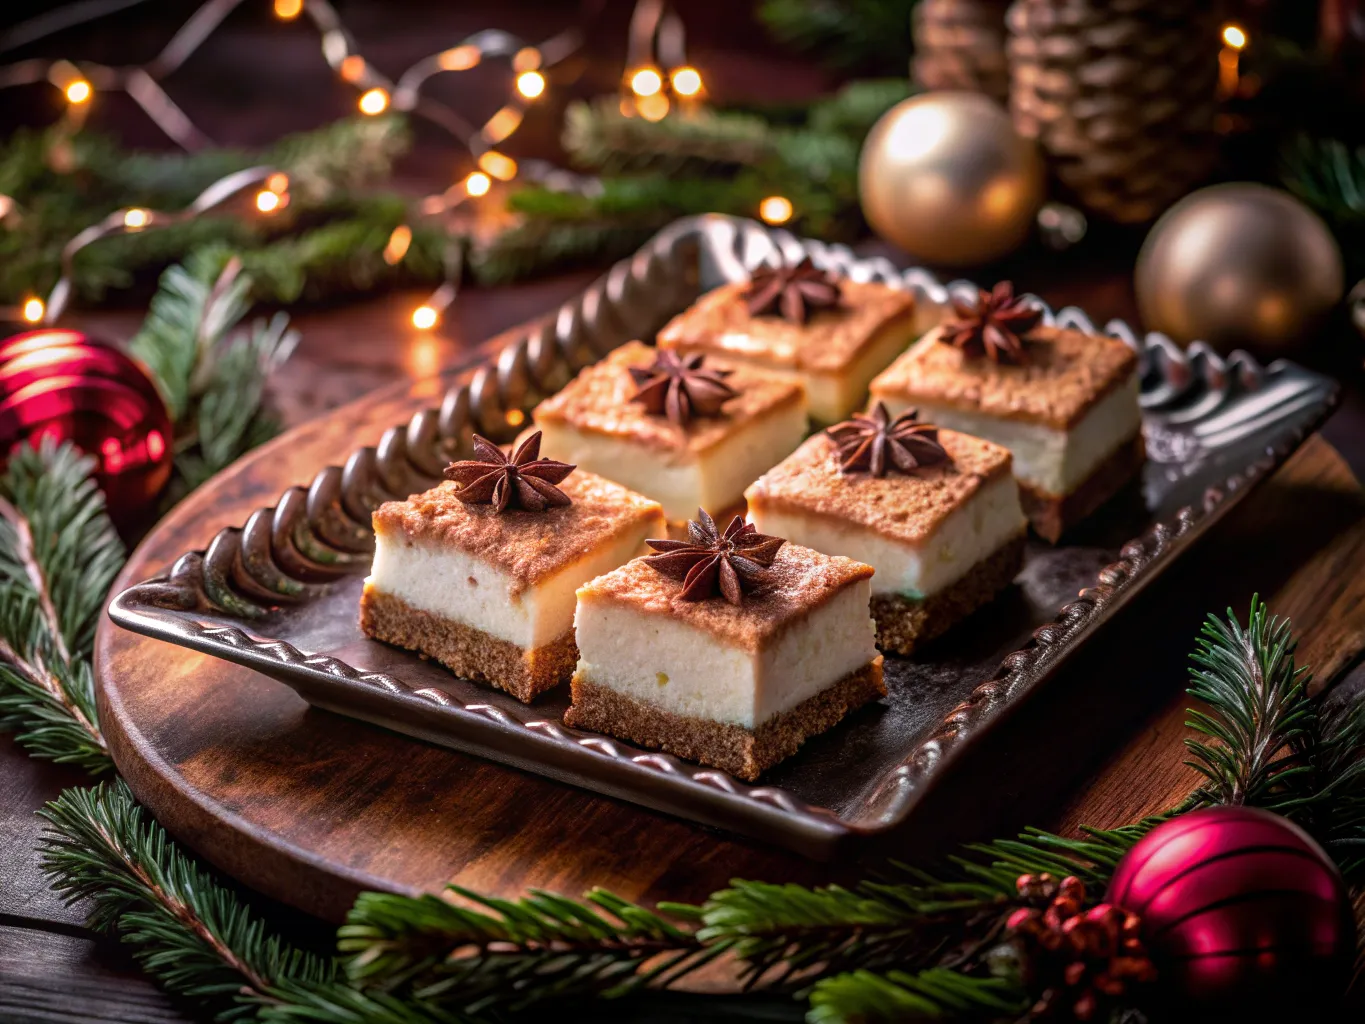
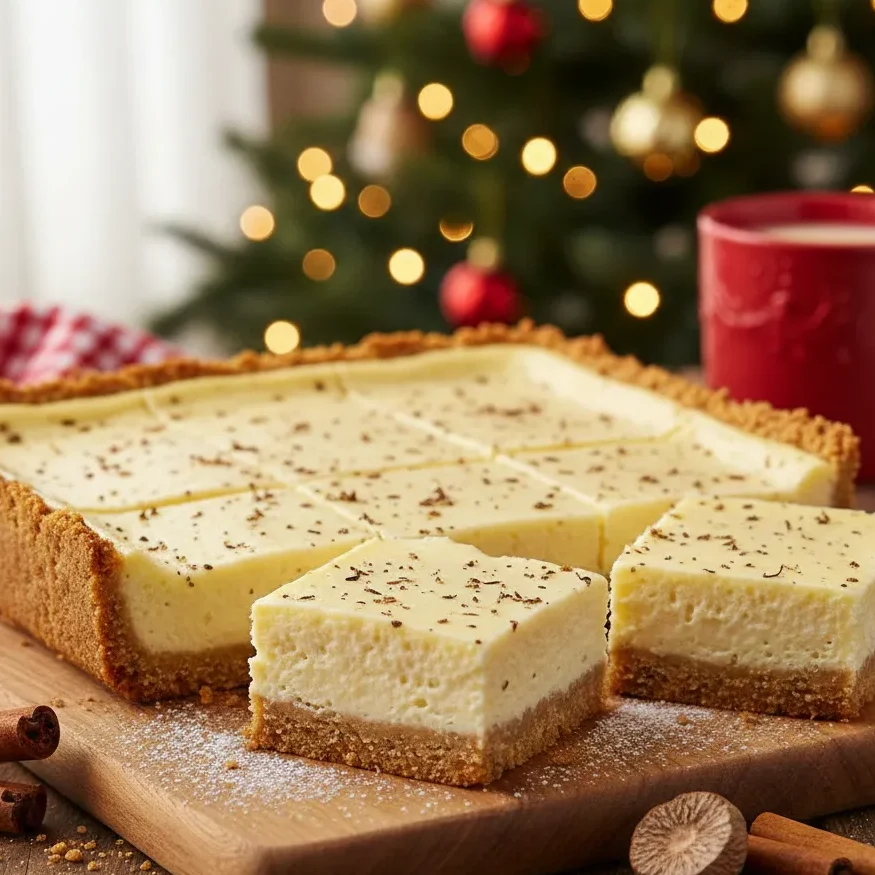
Close your eyes and imagine the scent of the holidays: that unmistakable blend of toasted sugar, warm vanilla, and the earthy punch of freshly grated nutmeg. There is something deeply nostalgic about a cold glass of eggnog, but what if you could transform that festive liquid gold into something even more indulgent? Enter the Eggnog Cheesecake Bar. These aren’t just your average dessert squares; they are a decadent, creamy celebration of winter spices, anchored by a buttery nutmeg crust that provides a bold foundation for the velvety filling above. If you’re looking for a treat that captures the very essence of holiday cheer in a single bite, you’ve just found your new tradition.
Why You’ll Love These Spiced Eggnog Bars
Why settle for a standard cheesecake when you can have a seasonal masterpiece? These bars are designed to be the standout star of your holiday spread.
- Bold Seasonal Flavor: Unlike traditional cheesecake, which relies on a neutral profile, these bars leverage the complex, custard-like notes of eggnog. The addition of extra nutmeg ensures a deep, festive profile that resonates with every bite.
- Texture Perfection: There is a delightful sensory play at work here. You get the satisfying, crisp snap of a cinnamon-infused crust followed immediately by a layer of cheesecake so velvety it practically melts on the tongue.
- Crowd-Pleasing Potential: Let’s be honest: slicing a round cheesecake at a busy party can be a messy ordeal. These bars are easy to portion into clean squares, making them the ultimate finger food for festive gatherings.
- Holiday Convenience: We all know the holiday rush is real. These bars are a “make-ahead” dream. In fact, they require a night in the fridge to set properly, which actually allows the spices to bloom and deepen in flavor.
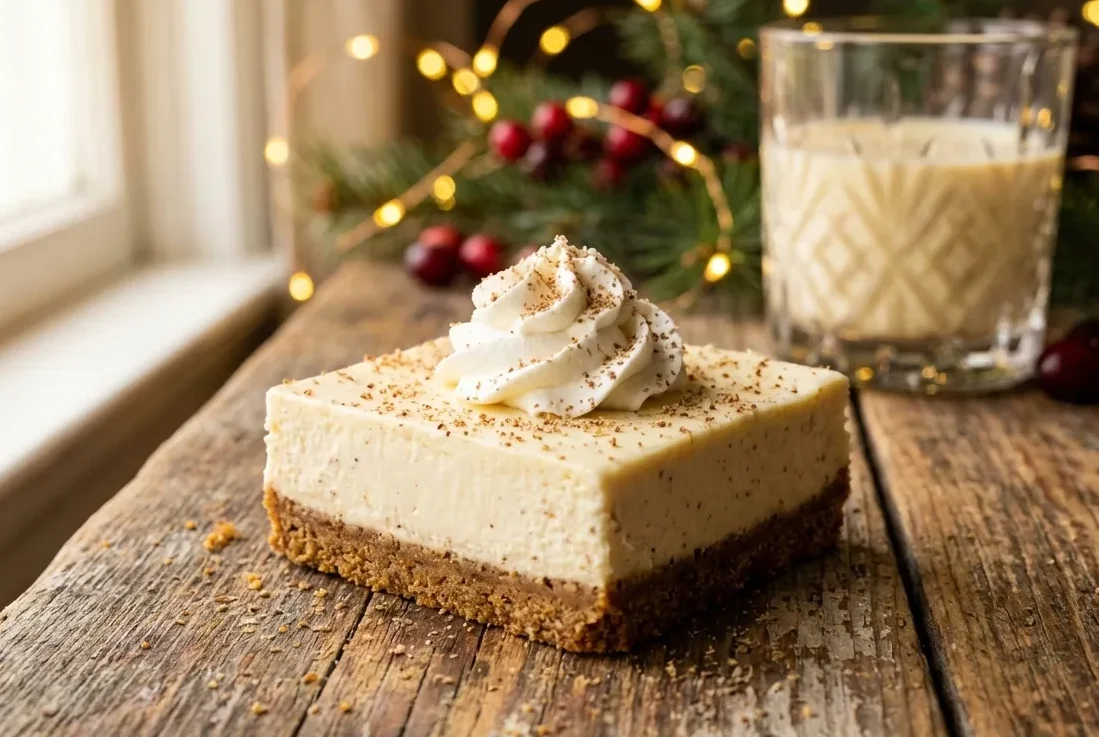
The Blueprint for Boldness: Selecting Your Ingredients
Have you ever wondered why some holiday treats stay in your memory for years, while others are forgotten before the party is even over? It usually comes down to the quality of the foundation. When we talk about Eggnog Cheesecake Bars, we aren’t just looking for “sweet” we are looking for a complex, multi-layered experience.
To achieve that professional-grade result, we need to be intentional about what goes into the mixing bowl. Are you ready to raid your pantry? Let’s break down the essential components that make these bars the ultimate decadent holiday dessert.
Why Ingredient Temperature Changes Everything
Before we look at the list, I have one non-negotiable rule: patience. You’ve probably seen recipes insist on “room temperature ingredients,” and you might be tempted to skip it. Don’t! When your cream cheese, eggs, and eggnog are all at the same ambient temperature, they emulsify perfectly. This is the secret to avoiding those pesky white lumps and achieving a silkiness that mimics high-end artisanal bakeries.
The Ingredient Master List
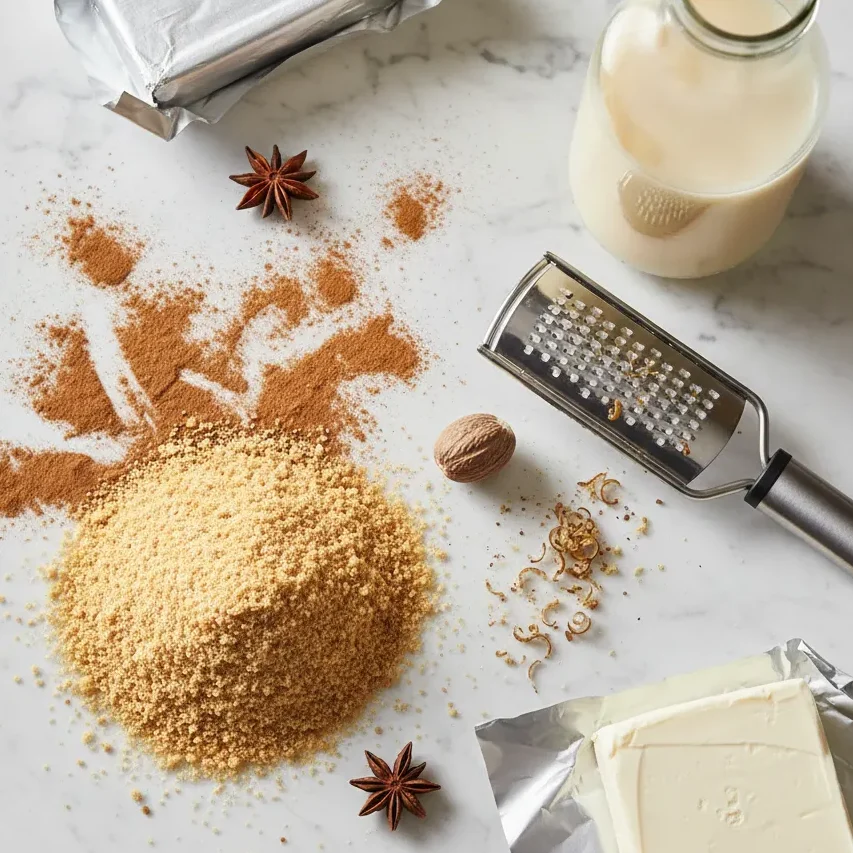
Here is exactly what you’ll need to create this seasonal masterpiece. I’ve balanced the ratios to ensure the nutmeg crust is sturdy enough to hold, yet tender enough to melt.
| Ingredient | Quantity | Purpose in the Recipe |
| Cinnamon Graham Crackers | 2 cups (crushed) | Provides a warm, spiced base. |
| Unsalted Butter (Melted) | 6 tbsp | Binds the crust for a perfect “snap.” |
| Fresh Whole Nutmeg | 1 seed (to be grated) | The aromatic heart of the entire dish. |
| Full-Fat Cream Cheese | 24 oz (3 blocks) | Ensures a rich, bold, and stable filling. |
| Granulated Sugar | ¾ cup | Balances the tang of the cheese. |
| Premium Eggnog | 1 cup | Adds the signature holiday custard flavor. |
| Large Eggs | 3 units | Provides structure and that “lift.” |
| Pure Vanilla Extract | 1 tbsp | Enhances the floral notes of the spices. |
| Ground Cinnamon | 1 tsp | Complements the nutmeg in the crust. |
Customizing Your Eggnog Experience
Not all eggnogs are created equal, and your choice here will dictate the final “vibe” of your bars. If you prefer a more traditional, boozy undertone, look for a brand that leans heavily into rum or bourbon notes (even if it’s non-alcoholic).
- For the Purists: Stick to a heavy, dairy-based “Classic” or “Golden” eggnog.
- For the Bold: Try a “Spiced” variety to double down on the heat of the cinnamon and cloves.
- The Pro Move: If you find your eggnog is a bit thin, whisk in an extra egg yolk to the batter. This increases the fat content, ensuring your cheesecake texture remains dense and luxurious rather than airy.
Have you checked your spice drawer lately? If that jar of nutmeg has been sitting there since three Christmases ago, it might be time for an upgrade. Trust me, your taste buds will thank you for the extra effort of using fresh spices.
The Art of the Bake: Achieving a Flawless Cheesecake Texture
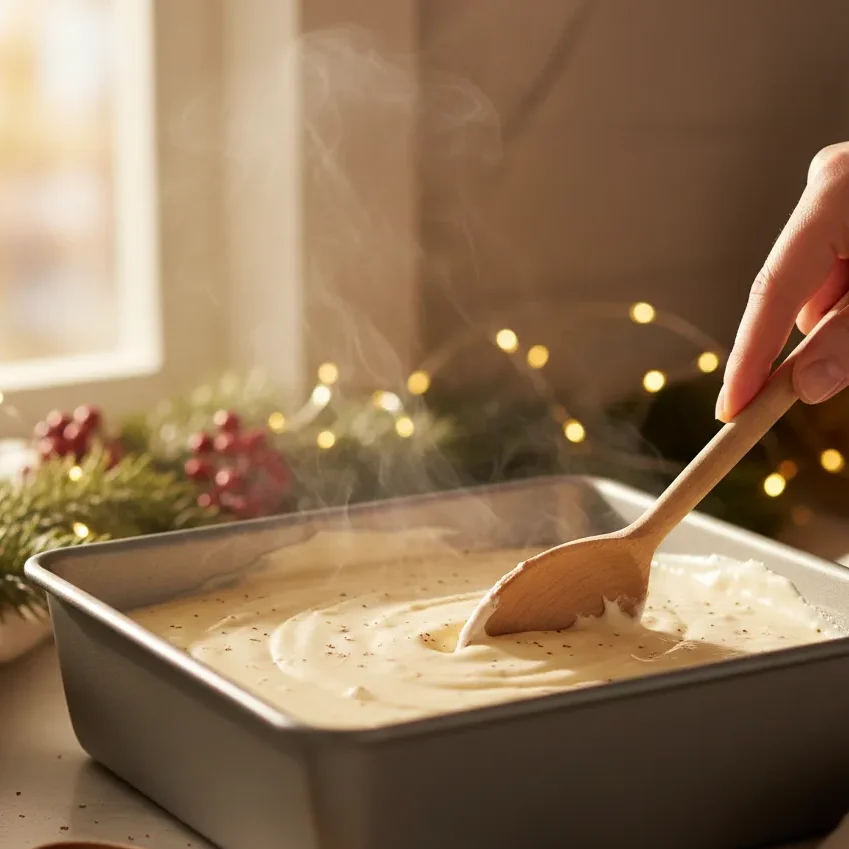
Have you ever pulled a cheesecake out of the oven only to watch, heartbroken, as a giant crack forms right down the center? It feels like a holiday disaster, doesn’t it? But here’s a little secret from my kitchen to yours: perfection isn’t about luck; it’s about physics. When we are aiming for that bold and decadent mouthfeel, the way we handle the batter and the heat is just as important as the ingredients themselves.
Getting that signature “jiggle” just right is the difference between a bar that is dry and crumbly and one that is creamy and luxurious. Let’s walk through how to ensure your holiday dessert bars come out looking like they belong in a professional pastry shop window.
Mastering the Mixing Process
The biggest enemy of a smooth cheesecake is air. While we love fluffy cakes, a fluffy cheesecake is actually a recipe for failure. When you incorporate too much air into the cream cheese, the bars will rise in the oven like a balloon and then collapse as they cool, leading to those dreaded cracks.
- Low and Slow: Always use the lowest speed setting on your mixer.
- The “Last Minute” Egg Rule: Add your eggs one at a time and only mix until the yellow disappears. This prevents over-aerating the proteins.
- Scrape the Bottom: Use a silicone spatula to reach the very bottom of the bowl. Hidden pockets of unmixed cream cheese are the main cause of lumps!
Precision Baking and the “Wobble” Test
How do you know when your eggnog cheesecake is actually done? If you wait until the top is browned, you’ve gone too far. We want a pale, ivory surface that looks set at the edges but still has a slight, gelatinous wobble in the center when you gently shake the pan.
Remember, residual heat will continue to cook the bars long after they leave the oven. This “carryover cooking” is what finishes the center perfectly without drying out the perimeter.
Visual Guide: Perfecting Your Technique
Sometimes, seeing the texture in motion makes all the difference. If you’re nervous about the consistency of your batter or the timing of the bake, check out this excellent visual guide on achieving the perfect cheesecake base:
The Cooling Countdown
I know the temptation to slice into these immediately is overwhelming the kitchen probably smells like a dream right now! But the cooling process is where the nutmeg and cinnamon crust truly bonds with the filling.
- Room Temp Rest: Let the pan sit on a wire rack for at least 60 minutes.
- The Fridge Cure: Chill for a minimum of 6 hours (though overnight is much better). This allows the fats to solidify, creating that dense, fudge-like texture we’re after.
Are you ready to see those perfectly clean edges when you finally take the knife to the pan? The wait is the hardest part, but I promise the first bite will make you forget all about the time spent staring at the fridge door.
Elevating the Aesthetic: Garnishes and Professional Presentation
You’ve done the hard work your bars have chilled to perfection and that nutmeg-infused crust is holding firm. But before you set them out on the dessert table, have you thought about the “wow” factor? We eat with our eyes first, and in the world of holiday hosting, the difference between a simple snack and a show-stopping centerpiece lies in the finishing touches.
Think of your cheesecake bars as a blank canvas. While the flavor is already bold and decadent, a few intentional garnishes can transform these squares into professional-grade treats that look like they were plucked straight from a high-end bakery.
“The holiday season is a sensory symphony, and dessert is the final, lingering note. When we take the time to garnish with intention, we aren’t just adding flavor we are creating a moment of wonder for our guests.” Pastry Chef
Creating the Perfect Topping: Stabilized Whipped Cream
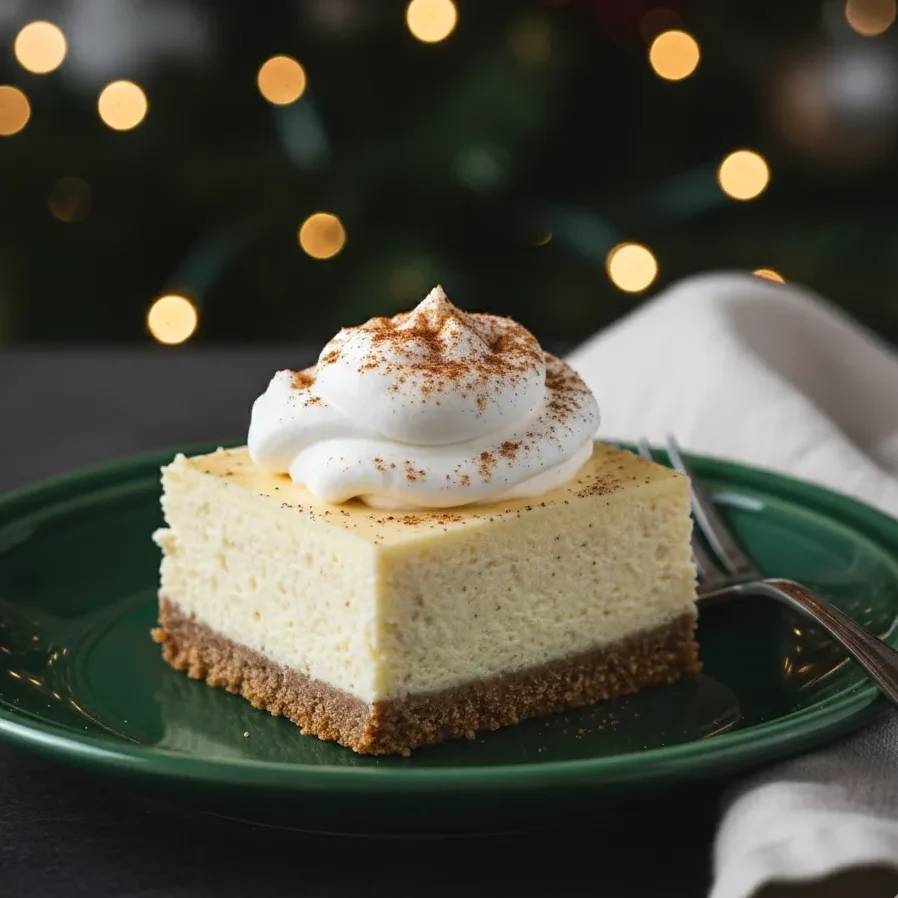
A dollop of store-bought topping just won’t do justice to your spiced eggnog bars. Instead, I recommend a homemade, stabilized whipped cream. By adding a touch of mascarpone or a pinch of cream of tartar, your whipped cream will hold its shape for hours at room temperature, making it perfect for parties.
- Infuse the Cream: Add a splash of vanilla bean paste or a tiny drop of rum extract to the cream before whipping to mirror the flavors in the filling.
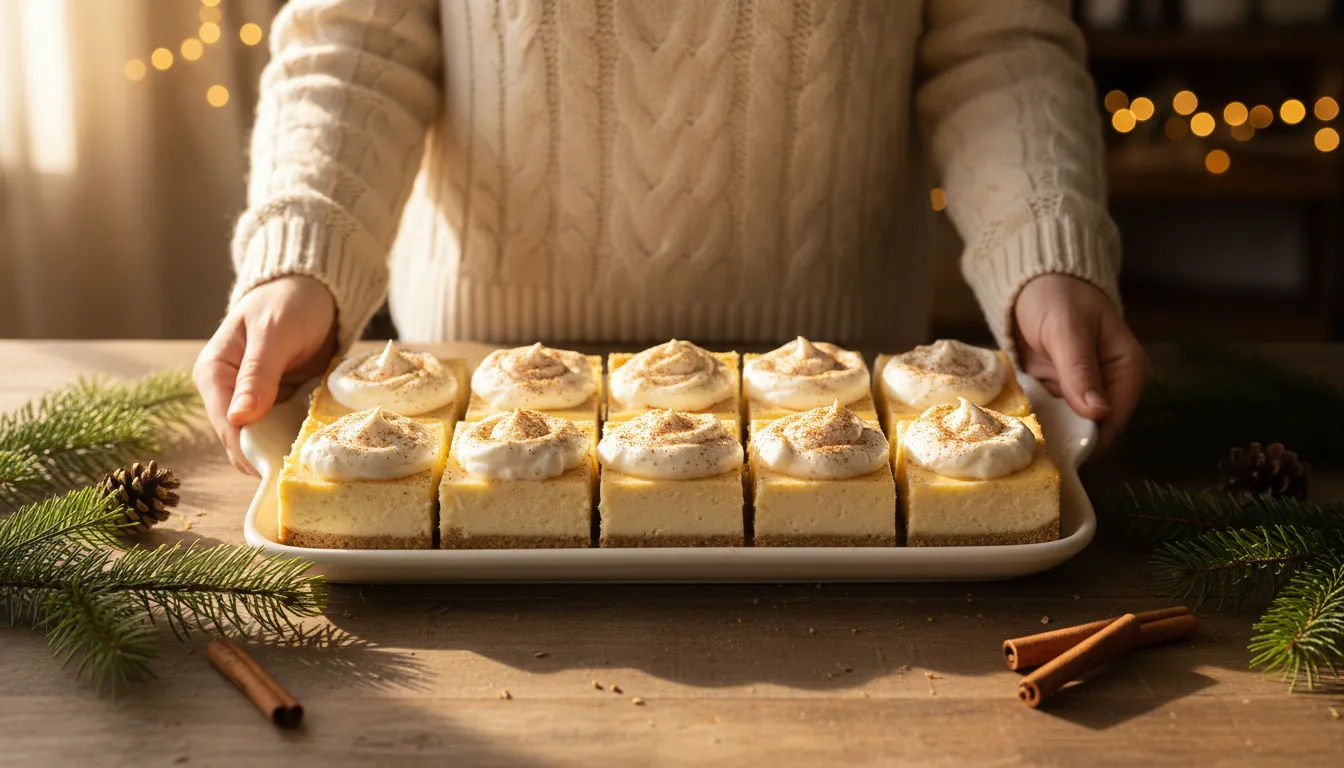
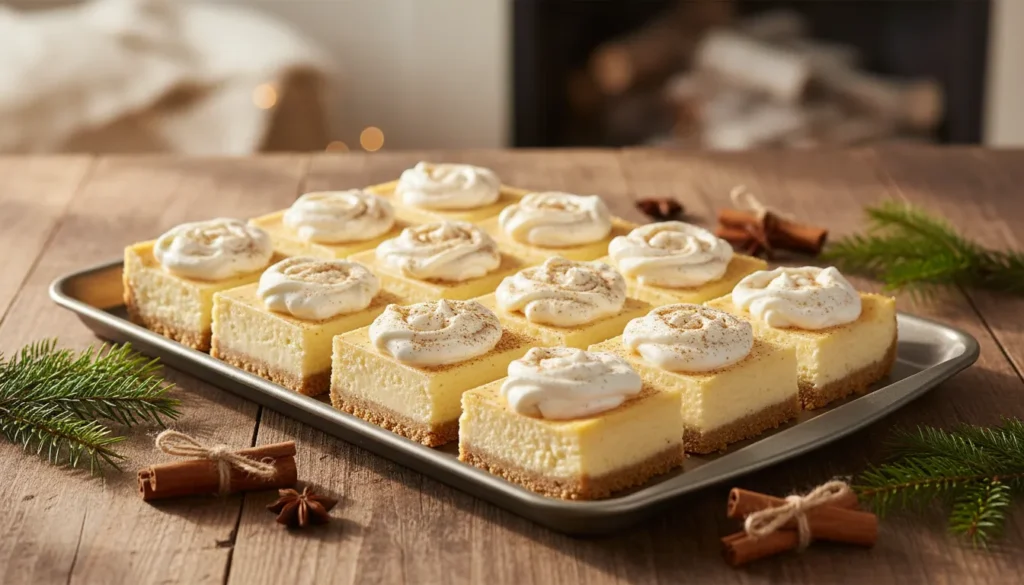
- The Piping Technique: Use a large star tip to pipe elegant rosettes on each individual square. This provides a beautiful height contrast to the flat surface of the cheesecake.
The Final Flourish: Spices and Texture
How do you make a pale ivory cheesecake pop against a white plate? It’s all about the contrast.
- The Fine-Mesh Sieve: Never sprinkle spices with your fingers! Use a small sieve to create a perfectly even, cloud-like dusting of cinnamon or extra nutmeg over the tops.
- Sugared Cranberries: For a burst of festive color, roll a few fresh cranberries in granulated sugar. The ruby-red sparkle against the cream-colored cheesecake is quintessentially holiday.
- White Chocolate Shavings: Use a vegetable peeler on a bar of high-quality white chocolate to create delicate curls. They add a subtle sweetness and a sophisticated texture.
Serving Suggestions for Maximum Impact
Are you serving these at a formal dinner or a casual open house? For a formal setting, try plating each bar with a single star anise pod on the side for aroma. If it’s a casual get-together, a wooden board lined with parchment paper and scattered with cinnamon sticks creates a cozy, rustic vibe.
Do you have a favorite holiday beverage to serve alongside your sweets? The richness of the full-fat cream cheese pairs beautifully with something slightly acidic or bitter. A hot cup of Moroccan Black Coffee or a tart cranberry sparkler can cleanse the palate between those rich, creamy bites.
The After-Party Plan: Storage and Make-Ahead Magic
You’ve mastered the nutmeg crust, perfected the creamy filling, and garnished your eggnog cheesecake bars like a pro. Your holiday gathering was a smashing success, and everyone raved about your decadent creation! But now, what do you do with the few precious squares that are left (if any)? Or perhaps you’re a savvy planner looking to get a jump on your holiday baking?
Fear not! One of the unsung heroes of this recipe is its incredible versatility for storage. These bars aren’t just a one-day wonder; they’re designed to be a flexible, make-ahead marvel that can grace your dessert table for weeks to come. Let’s talk about making these holiday dessert bars work for your schedule.
Short-Term Storage: Keeping Freshness Alive
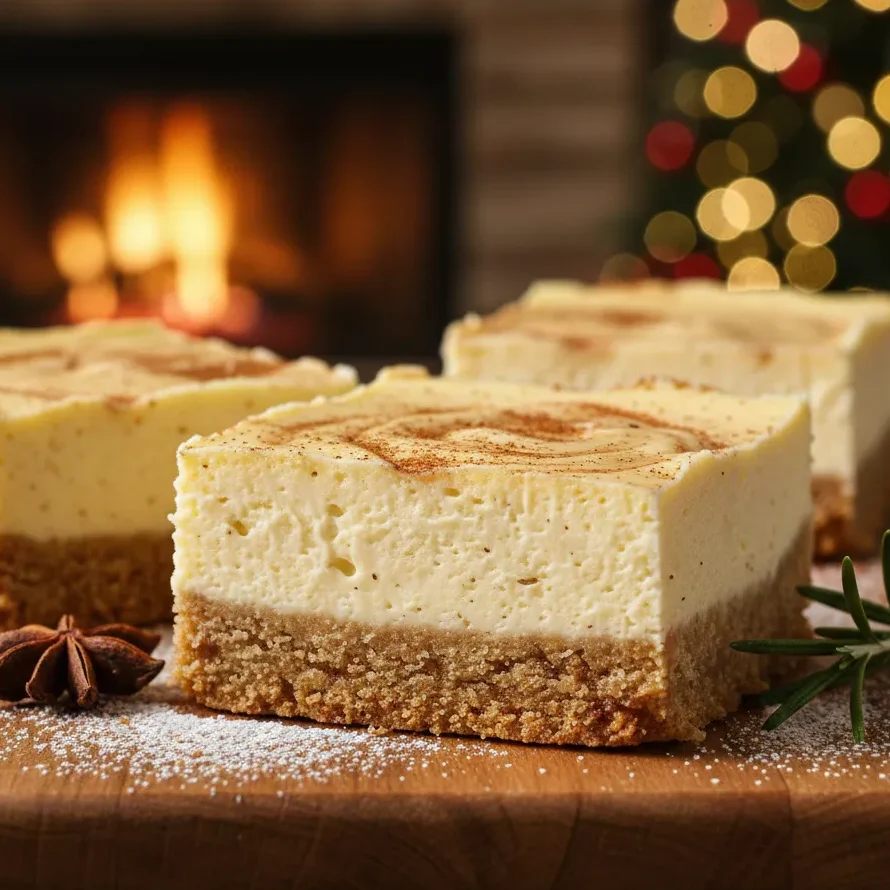
For those times when you have a few bars left over, or if you’ve made them a day or two in advance for an upcoming event, proper refrigeration is key. Remember, we’re dealing with full-fat cream cheese and eggs, so food safety is just as important as maintaining that exquisite flavor.
- Airtight is Right: Always store your cheesecake bars in an airtight container. Exposure to air is the quickest way for them to dry out and absorb unwanted odors from your fridge.
- Layer with Parchment: If stacking multiple bars, place a small square of parchment paper between each layer to prevent sticking and preserve the delicate garnishes.
- Optimal Chill: Stored correctly, your eggnog cheesecake bars will maintain their peak flavor and texture for up to 3-5 days in the refrigerator.
Long-Term Love: Freezing for Future Feasts
This is where the real magic happens for proactive holiday bakers. Imagine having a stash of these easy eggnog bars ready to pull out for unexpected guests or a sudden craving! Freezing cheesecake is not only possible; it’s recommended as a fantastic way to extend their shelf life without sacrificing quality.
- Pre-Freeze Naked: For best results, freeze the plain cheesecake bars before adding any whipped cream or fresh garnishes. You can add those just before serving.
- The Double-Wrap Method:
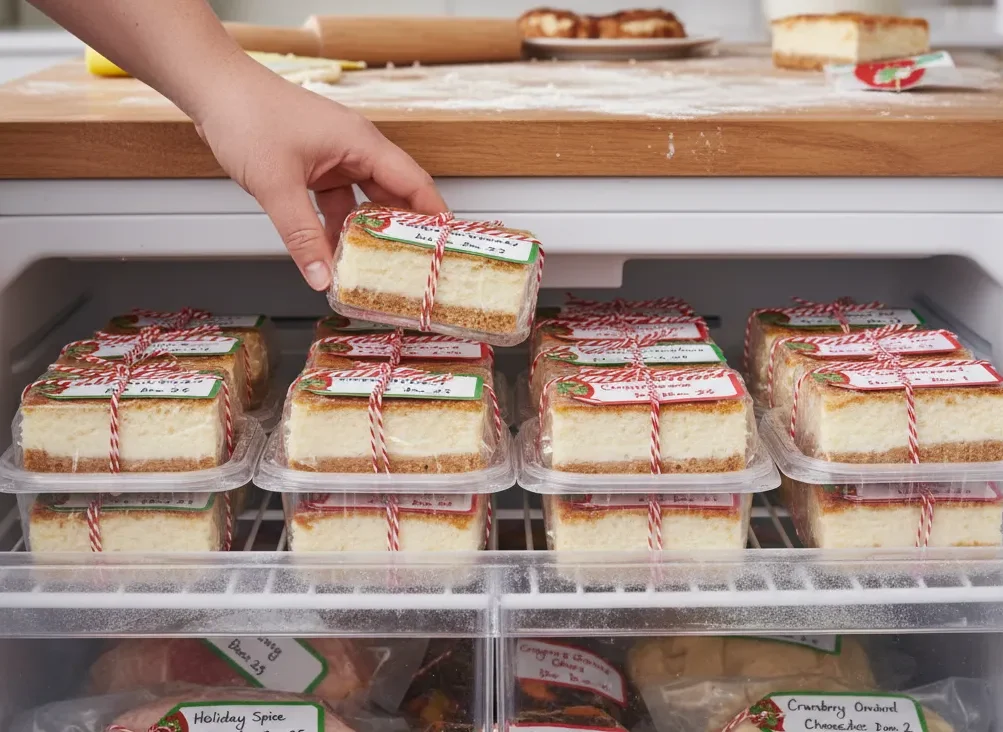
- Place individual bars on a parchment-lined baking sheet and freeze until firm (about 1-2 hours). This prevents them from sticking together.
- Once solid, tightly wrap each bar in plastic wrap, then an additional layer of aluminum foil. This dual barrier is crucial for preventing freezer burn.
- Label and Date: Trust me, you’ll thank yourself later! Write the date and contents on the foil with a permanent marker.
- Thawing Strategy: When you’re ready to enjoy, simply unwrap the desired number of bars and let them thaw in the refrigerator overnight. Avoid thawing at room temperature, as this can affect the texture.
Can you believe you can enjoy that bold, decadent flavor even a month or two from now? This makes eggnog desserts not just a holiday treat, but a delightful option for any winter evening. Planning ahead means less stress during busy seasons and more time to enjoy the fruits (or in this case, the creamy bars) of your labor!
Final Thoughts: Your New Favorite Holiday Tradition
As the holiday lights twinkle and the cold air sets in, there’s nothing quite like the satisfaction of sharing a handmade treat that truly wows a crowd. We’ve journeyed through the importance of a spiced graham cracker base, the science of a crack-free bake, and the sheer elegance of a fresh nutmeg garnish. By now, you aren’t just following a recipe; you’re mastering the art of the Eggnog Cheesecake Bar.
These bars represent more than just a dessert. They are a conversation starter a way to take the nostalgic, familiar flavors of a classic drink and elevate them into something sophisticated and unforgettable. Whether you’re a seasoned baker or this is your first foray into the world of holiday cheesecake recipes, I hope you feel empowered to step into your kitchen and create something bold.
Are you ready to become the most requested baker at this year’s gift exchange? I have a feeling these bars are about to become your signature seasonal move.
Festive Q&A: Troubleshooting and Tips
I know that even the most confident bakers can have questions when trying a new decadent holiday dessert. Here are some of the most common queries I get about getting these bars exactly right.
- Can I make these without alcohol? Absolutely! Most grocery store eggnogs are non-alcoholic. If you’re using a homemade version that contains spirits, just ensure the total liquid volume remains the same to keep the cheesecake texture stable.
- What if I can’t find cinnamon graham crackers? No problem at all. Use standard honey graham crackers and simply increase the ground cinnamon in the crust to 1 teaspoons. It will provide that same warm, aromatic depth.
- Why did my crust turn out crumbly? This usually happens if the butter wasn’t fully incorporated or the crumbs weren’t pressed down firmly enough. Use the bottom of a flat measuring cup to pack the crust into the corners of your pan it makes a world of difference!
- Is there a way to make these gluten-free? Yes! Simply swap the graham crackers for your favorite gluten-free brand. The filling is naturally gluten-free as long as your eggnog and vanilla extract are certified.